Fresh Tomato Salads
Tomato season is too short around here. I can never get enough of what my mom called “real tomatoes”. The first few tomatoes never made it in the house. Warm from the sun, they were too tempting. We would pick them right off the plant and eat them. Deer have made it pretty impossible for me to grow tomatoes right now. Luckily, local farm markets have many beautiful tomatoes.
I am enjoying eating fresh tomatoes right now. Later in the season, I will purchase enough tomatoes to can and dehydrate to enjoy once the season is over.
I thought I would share a few of my favorite tomato salad recipes with you.
They are pretty simple. I think that is how it should be. When you have something as close to perfection as a ripe tomato, little more is needed.
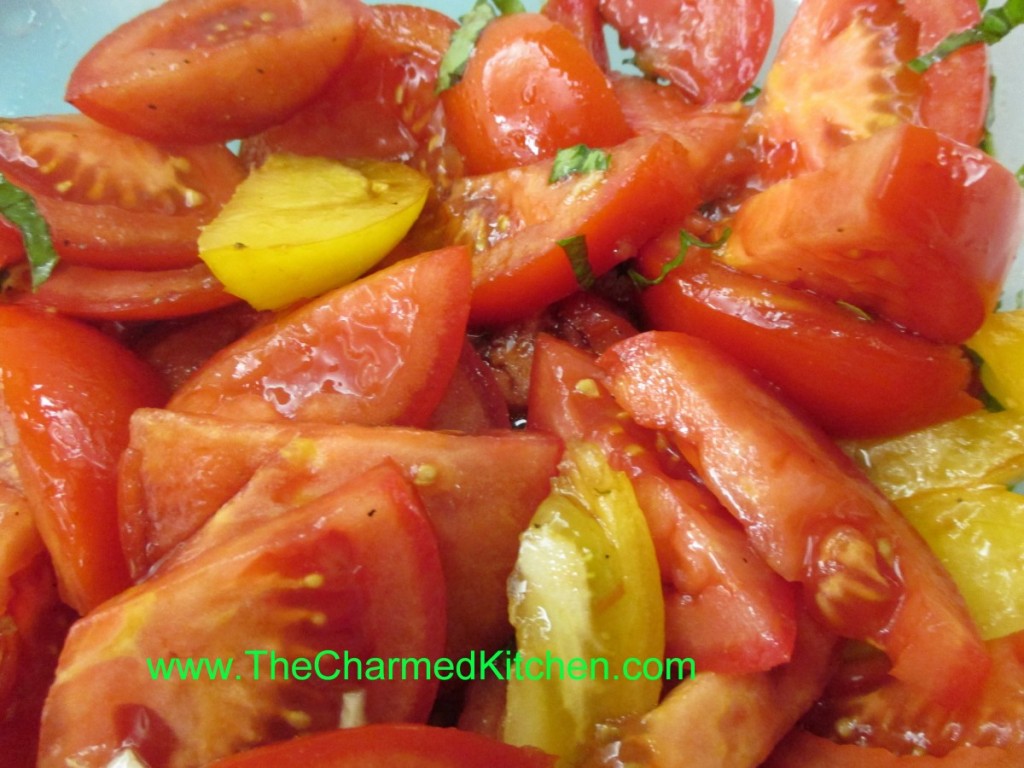
Marinated Tomato Salad
3 large tomatoes, cut in wedges, or 2 pints cherry tomatoes, halved
1 T. olive oil
1 clove garlic, minced
2-3 basil leaves, cut into thin strips
2 T. balsamic vinegar
salt and pepper to taste
Combine ingredients and serve at room temperature. Serves 4-6.
Tomato and Feta Salad
3 tablespoons crumbled feta cheese
12 cherry tomatoes, thinly sliced
1/2 sweet onion, diced
1 tablespoon olive oil -I used a lemon infused olive oil
1 tablespoon lemon juice
Salt and pepper to taste
In a bowl, mix the feta cheese, cherry tomatoes, onion, olive oil, and lemon juice. Add salt and pepper to taste. Serve immediately. Serves 2.
Warm Pasta Salad
1 lb. Plum tomatoes, chopped
1 medium sweet onion, chopped
4 oz. Fresh mushrooms, sliced
2 cloves garlic, minced
¼ c. fresh parsley, chopped
1 T. dried basil or 1/4 c. chopped fresh basil
1 T. capers, optional
1 t. dried oregano
½ c. olive oil
¼ c. red wine vinegar
3 T. balsamic vinegar
Dash of hot red pepper flakes
Salt to taste
1 lb. Uncooked pasta
Combine all ingredients, except pasta and chill overnight. Cook pasta, drain and toss with tomato mixture. Mixture should be served right away . Serves 6.
BLT Salad
6-8 slices bacon
2 slices rye bread
2 slices Swiss cheese
5 c. torn up lettuce or mixed greens
3 T. olive oil
2 T. apple cider vinegar
1 T. balsamic vinegar
Salt and fresh ground pepper
2-3 tomatoes, diced
Cook bacon until crisp. Remove from pan, drain and crumble. Remove most of the bacon grease from the pan. Make a sandwich with the rye bread and the Swiss cheese. Toast in the skillet over medium heat until golden brown and cheese is melted. Set aside. Place lettuce in bowl and toss with the oil to coat the leaves. Toss with the vinegars and season with salt and pepper to taste. Add the tomatoes and the bacon and toss. Cut the sandwich into cubes and place on the top of the salad. Serves 2.
Note: you can make two sandwiches if you want more bread and cheese in the salad.
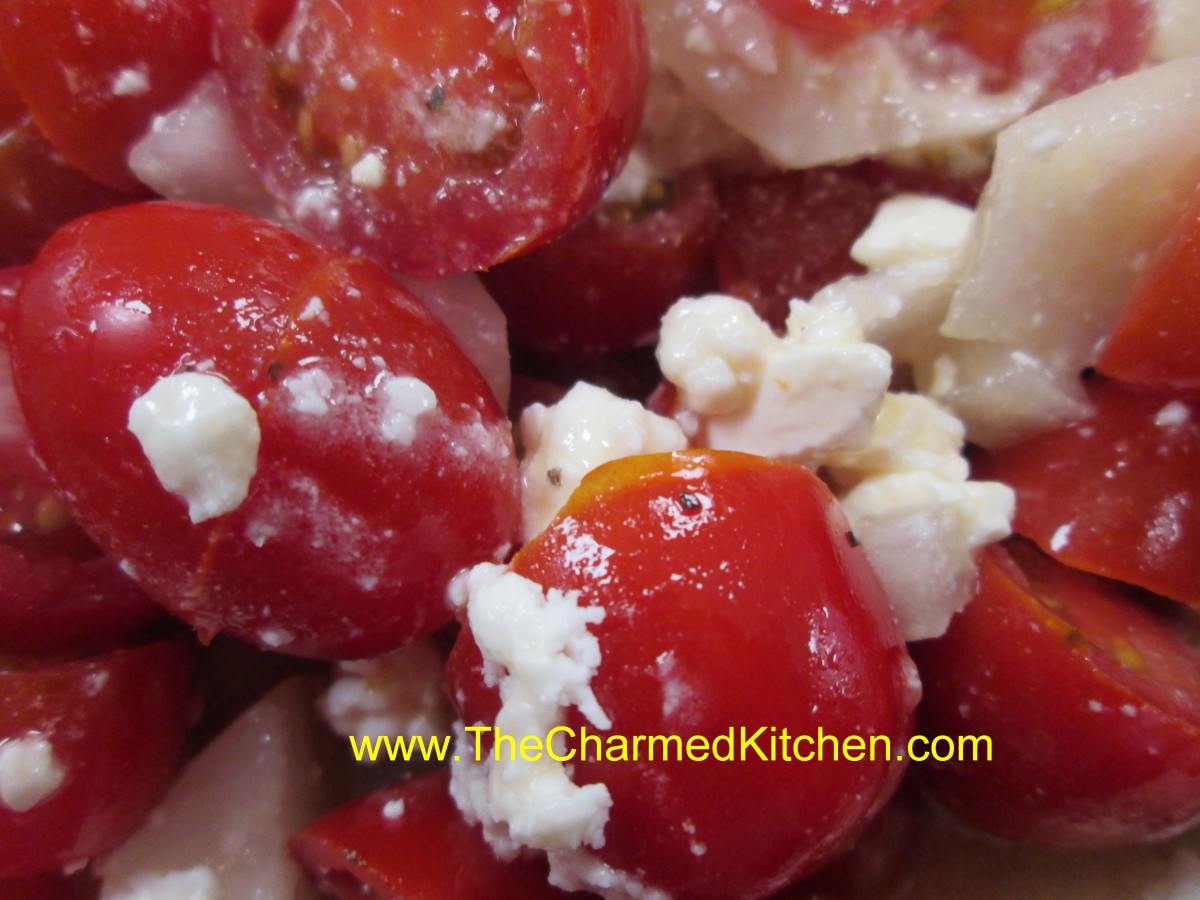
Tomato Feta Salad
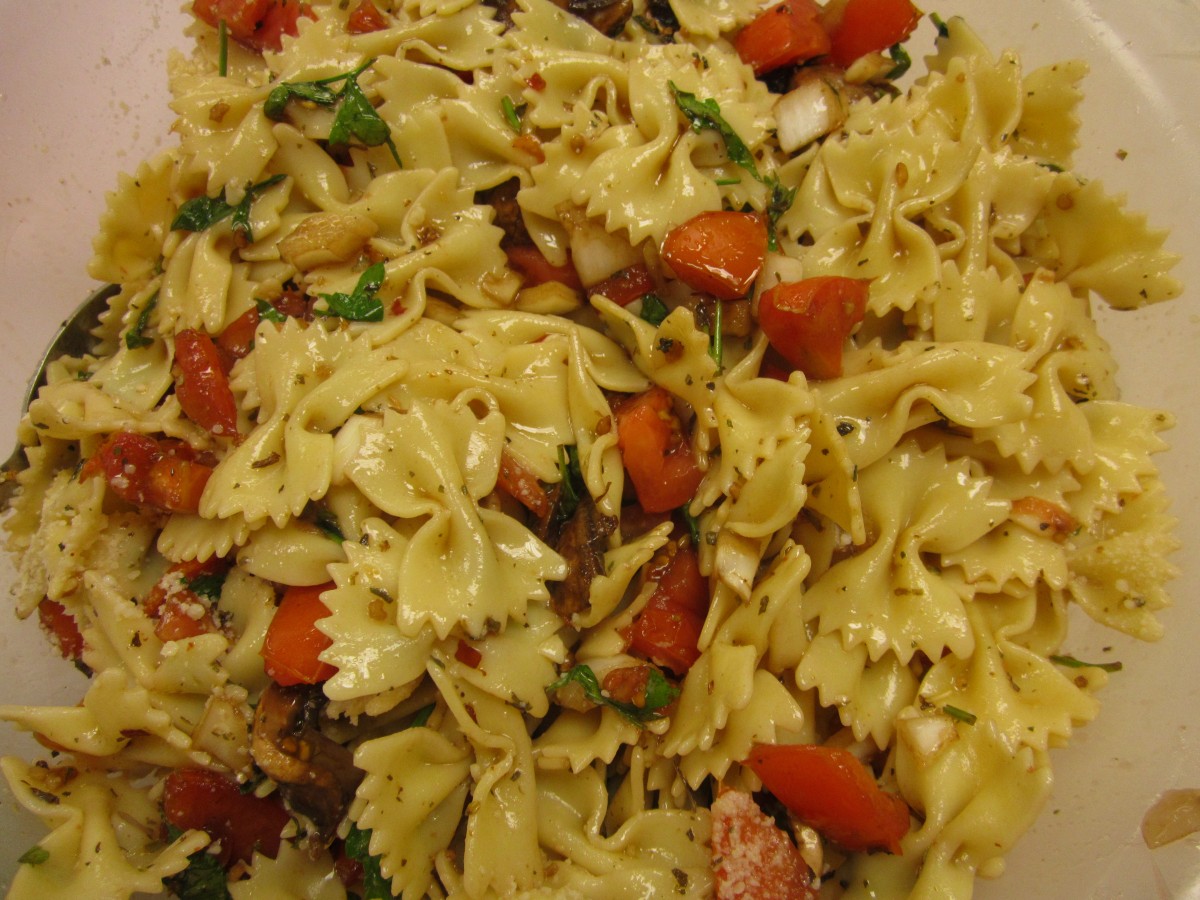
Warm Pasta Salad

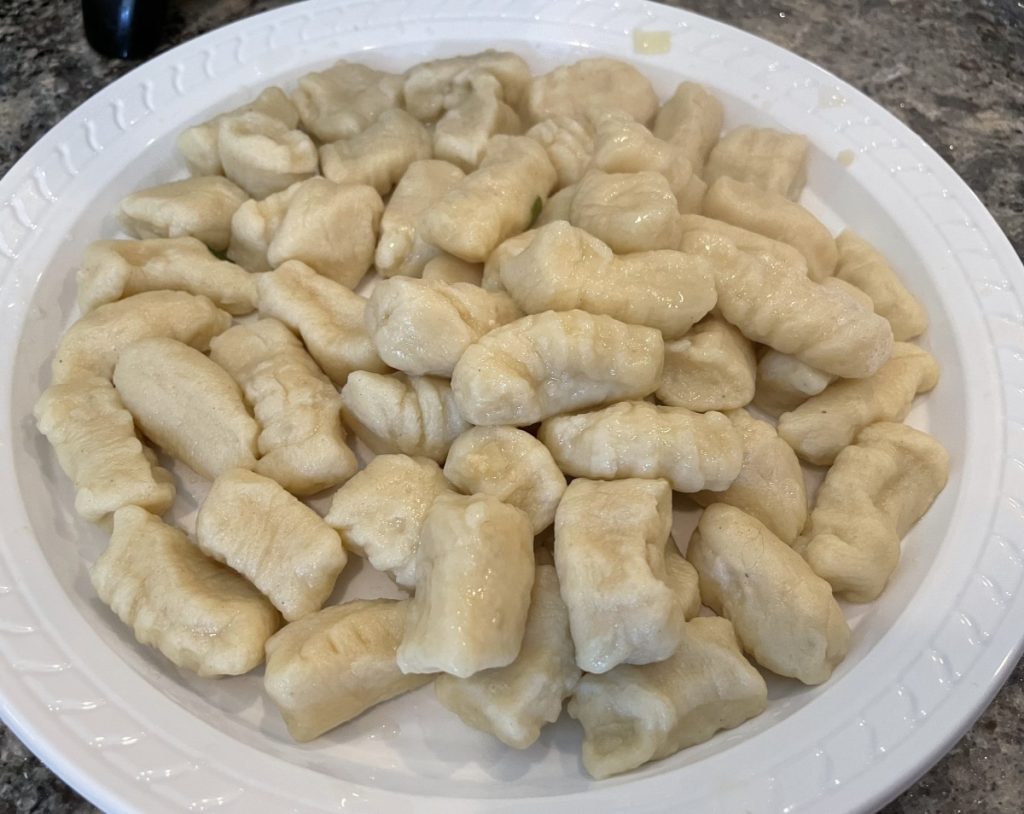
Potato Gnocchi
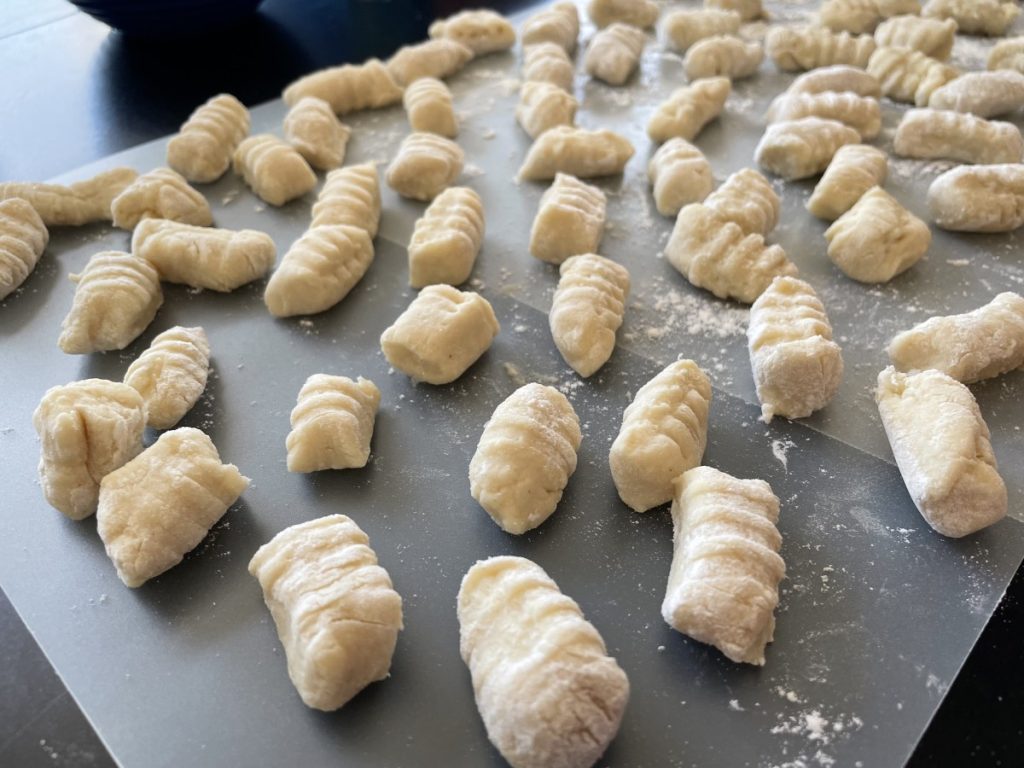
In camp last week the kids got to make gnocchi. They were really interested in making them. Most of the kids had eaten them before. None had made their own. They were not hard to make at all and the kids said they were better than the store bought ones they had before. No surprise there.
Gnocchi are a type of dumpling made with potatoes. They are tender, tasty and so easy to make. Sort of like a spaetzle, but made with potatoes in the dough. They have a unique texture and flavor. They have a unique appearance as well, as uncooked gnocchi are traditionally rolled across the tines of a fork to leave tiny grooves. The grooves help to hold sauce. It also makes them look pretty. There are special grooved boards made just for making gnocchi, but a fork works well, too.
Once cooked, gnocchi can be served with butter or a little olive oil, with a red sauce or browned in butter or oil. I love them with some fresh grated Parmesan cheese.
So here is the recipe we used. If you never made gnocchi before, I hope you will give them a try. so easy and so good!!!
Classic Gnocchi
4 small russet potatoes, 22-24 oz. total, peeled, diced into 1/2-inch cubes
1 egg
2 T. whipping cream or half and half
1 1/4 t. salt
1/8 t. nutmeg
1 1/2 c. (about) flour
Steam potatoes over boiling water until tender, about 12 minutes. I steam mine in the microwave. Place in bowl and mash or put potatoes through a ricer. Place in bowl and cool about 10 minutes. Add egg, cream, salt and nutmeg and mix well. Stir in flour and combine until slightly sticky dough forms. Add more flour a tablespoon at a time if the mixture is too moist. Turn dough onto lightly floured work surface and divide into 6 equal portions. Roll out 1 piece into a rope about 20-inches long by 3/4 inch. Cut dough into 3/4 -inch pieces and roll each piece over the tines of a fork or over a wire whisk to make grooves in them. Arrange finished gnocchi in a single layer on a floured baking sheet and repeat the process with the remaining dough. Boil the gnocchi in well-salted boiling water, about 1/3 at a time. Boil for 4-5 minutes. They will come to the surface and be tender. Check after 4 minutes. Serve with butter and Parmesan cheese or with a favorite pasta sauce.
Peaches and Herbs Sorbet
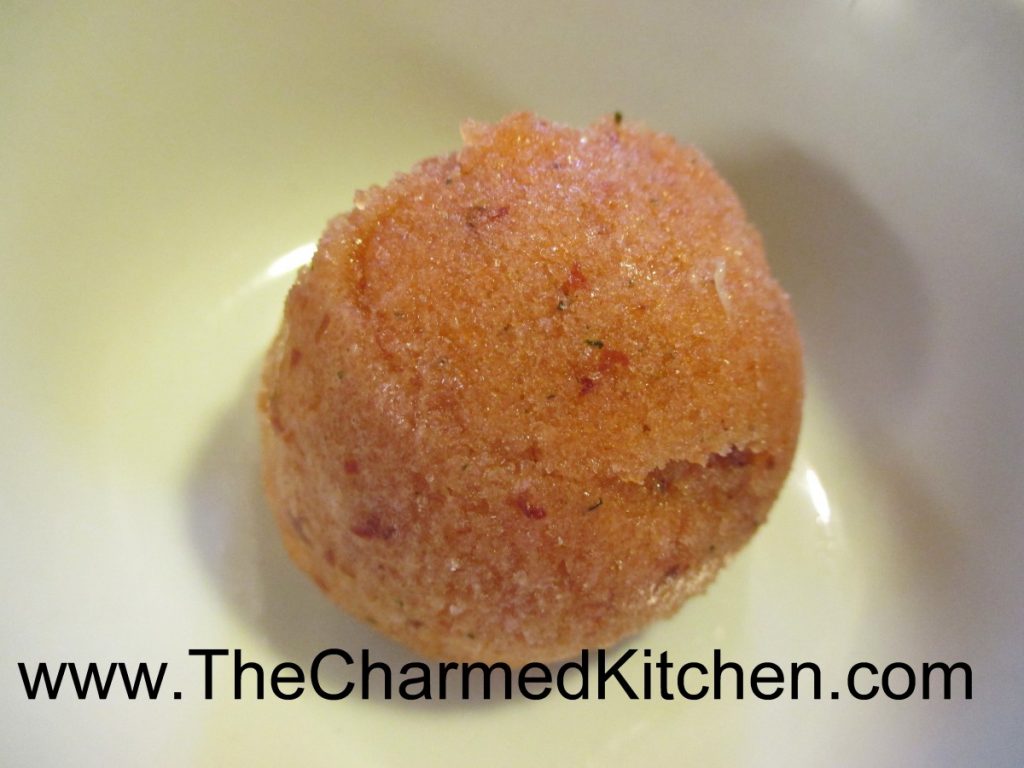
Sorbet is such a nice dessert for summer. Light, fruity and fresh. I try to keep a few different kinds on hand. So many fruits are abundant this time of year. They are the perfect start for a great sorbet.
This peach sorbet combines ripe peaches with both basil and mint from my garden. The combination worked well together. Adding herbs and other flavorings can make sorbet even more fun to eat.
You don’t need an ice cream machine to make it, either. You just puree the fruit with the other ingredients and freeze. The secret to a smooth sorbet, is to puree the frozen mixture a time or two. I place the frozen sorbet in my food processor and run it until the sorbet looks creamy. Then I put it in the freezer again. For extra creamy sorbet , repeat this process a third time. Easy to make, but there is wait time for the sorbet to freeze.
Here is the recipe for the peach sorbet. I thought the herbs added a really nice touch to the final product. Feel free to experiment with the flavors you like.
Peach Sorbet with Herbs
5-6 medium peaches, pitted. You can peel, if you like
honey to taste – I used 1/4 cup, but depends on how sweet the fruit it
3-4 basil leaves
2 sprigs of fresh mint
Puree all ingredients together until smooth. Adjust sweetener and seasonings. Mixture will taste less sweet after it freezes. Freeze until solid. Remove from freezer and break into chunks. Process in a food processor until mixture looks creamy. Depending on how cold your freezer is, you might have to let the sorbet soften a few minutes before processing it. Place back in freezer until ready to serve. Makes about 1 quart.
Note: For even creamier sorbet- process a another time or two- refreezing after each time.
Peach Ice Cream- No Egg Recipe
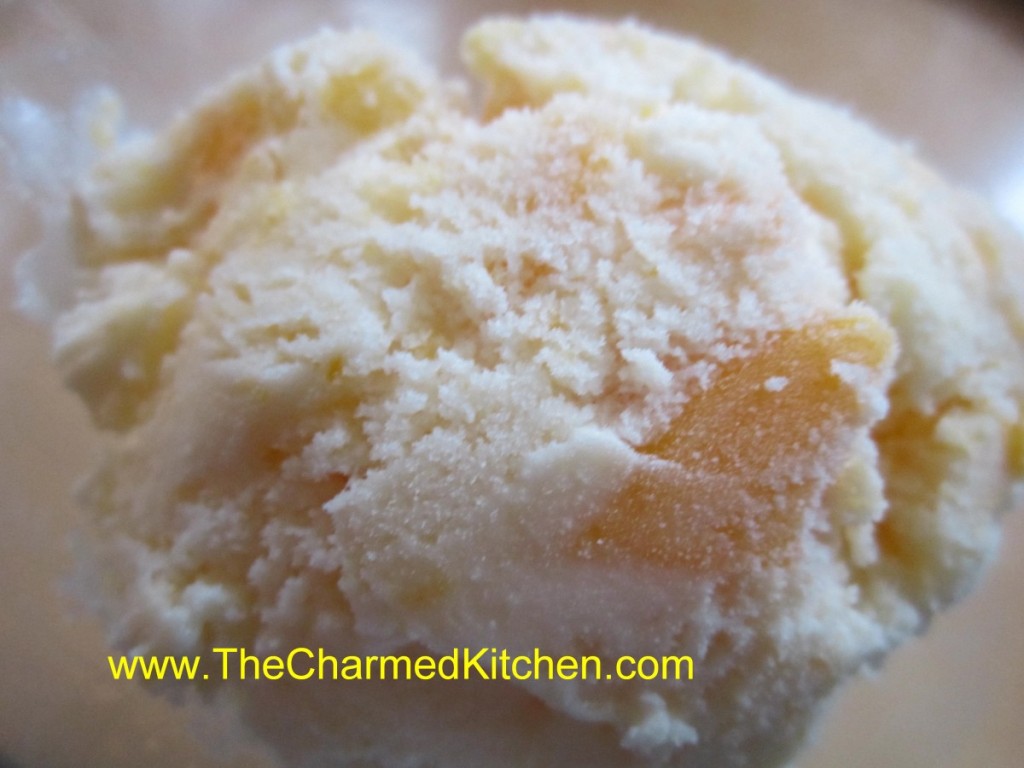
I posted my peach ice cream recipe, using a custard ( egg ) base. Today, I thought I would post another recipe for peach ice cream, since I mentioned it in the post. In this recipe, only the peaches are cooked, to soften them up before freezing. The rest of the base is not. This recipe contains no eggs. The texture is lovely, but different from an egg-based ice cream. The color is different, too. I just thought it would be nice to give you a couple of options.
Peaches are one of those fruits that make me think summer. We had a couple of peach trees in the backyard when I was growing up. I remember one year, my dad had to prop up the branches so they wouldn’t break under the weight of all those peaches. Homemade ice cream is all about summer, too. Fruit-studded ice cream seems like the perfect dessert for a warm summer day.
When using peaches in ice cream, you don’t want to just cut up the fruit and drop it in. If you do that, the peaches will form ice crystals and become quite hard, sort of like peachy ice cubes. Nobody want that in their ice cream. Better to cook the peaches first, like I did for the peaches in this recipe. That way, when you put them in the ice cream, they get frozen, but in a softer way. True of other fruits you might add to any ice cream recipe.
Homemade Peach Ice Cream
3-4 ripe peaches
2 c. half and half
1 c. sugar, or to taste
1 T. vanilla
1 T. orange zest
Peel and dice peaches. Cook in a small amount of water and a little sugar until tender. If you don’t precook the peaches they will be icy and hard in the ice cream. Cool and drain. In bowl combine half and half and sugar and stir until sugar is dissolved. Add remaining ingredients and stir well. Place in ice cream machine and process according to manufacturer’s directions. If you don’t have an ice cream maker place mixture in a shallow pan and freeze solid. Remove from freezer and allow to soften a little at room temperature then break up into chunks and place in a mixing bowl. Beat with a mixer until smooth and return to freezer. You can also process in a food processor. Makes 1 quart.
Peach Ice Cream – Custard Style
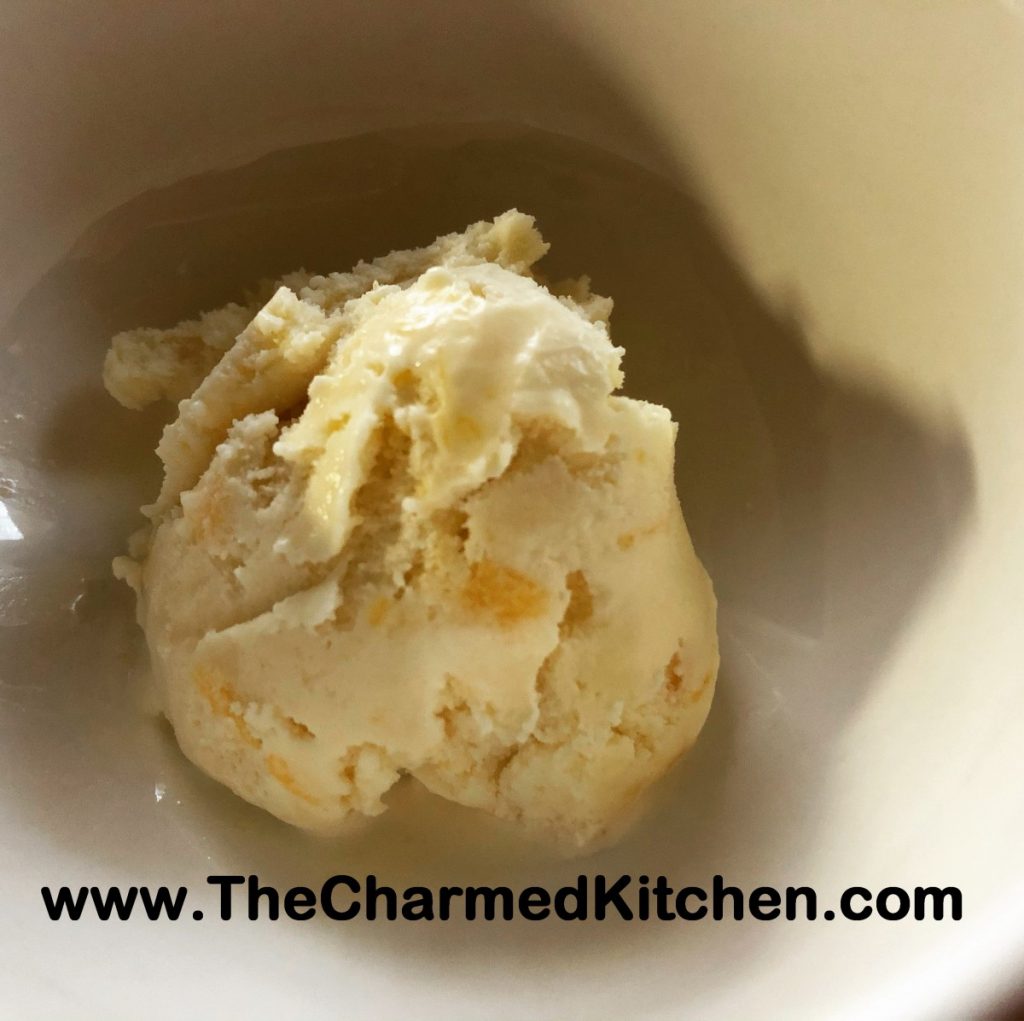
If there is a favorite summer treat for me- it is ice cream. I love to go to the local ice cream shop for a sundae or cone, and I love to make my own ice cream. When I found myself with a few extra peaches, I knew I wanted to use some of them to make ice cream. Peach ice cream is one of my absolute favorites.
I have made a peach ice cream before. This one is different because I made a custard base for my ice cream this time. A custard base just means that egg yolks, or eggs, are incorporated into the base of the ice cream. The base is heated up, so the eggs get cooked. In the other recipe, there are no eggs.
The custard base gives you a creamier end product. I wouldn’t say you have to make a custard-based ice cream for it to be good. They are just different. The custard base is a bit more work, but still not a difficult recipe at all.
This peach ice cream came out so good. Really creamy. I had perfectly ripe peaches. They were a little small, so I used 5 of them in this batch of ice cream. I used a vegetable peeler to remove the skins. I think that the skins get tough once cooked. Leave them on, if you prefer. I cut them off the pits, being sure to save all the juices, too. Then I just diced the peaches up pretty small.
If I just dumped the raw peaches into the ice cream base and froze it, they would end up as hard peachy cubes. By cooking the peaches first, they stay softer in the ice cream. This is true of any fruit ice cream. Using fruit that had been frozen, then thawed, will also work. I added a little vanilla, too. Not enough to overpower the peaches, but to add another layer of flavor.
So here is the recipe. Enjoy!!
Peach Ice Cream- Custard Style
4-5 peaches- mine were small- I used 5
1½ c. half and half
1 c. heavy whipping cream
3 egg yolks
1 c. sugar or to taste
1 t. vanilla
Peel the peaches. Cut the peaches to remove the pits. Discard pits. Dice up the peaches over a bowl to catch all the juices. In medium saucepan, place the peaches with the peach juice, half and half and cream. Over medium low heat, bring up to a simmer. Stir every few minutes, to prevent scorching. Let the mixture cook a few minutes, to soften the peaches. In a small bowl, beat together the egg yolks, sugar and vanilla. Add ½ cup of the hot cream mixture to the eggs, whisking in well. Add another ½ cup of the cream mixture, whisking again. Add one last ½ cup of the hot cream and again, whisk until smooth. Pour the egg mixture into the saucepan with the cream and while whisking, simmer until mixture starts to thicken and will coat the back of a spoon. This will take about 5 minutes. Don’t use too high a heat, or you will scramble your eggs. Mixture should reach 160 degrees to be sure eggs are cooked. Remove from heat. Pour mixture into a bowl. Allow ice cream base to cool down, then chill in fridge. Chilled mixture can be frozen in an ice cream maker once cold- in a few hours- or even the next day. Once mixture has been frozen in ice cream maker, place in a container and freeze until ready to serve. Makes about 5-6 cups of ice cream.
Homemade Butterscotch Sauce
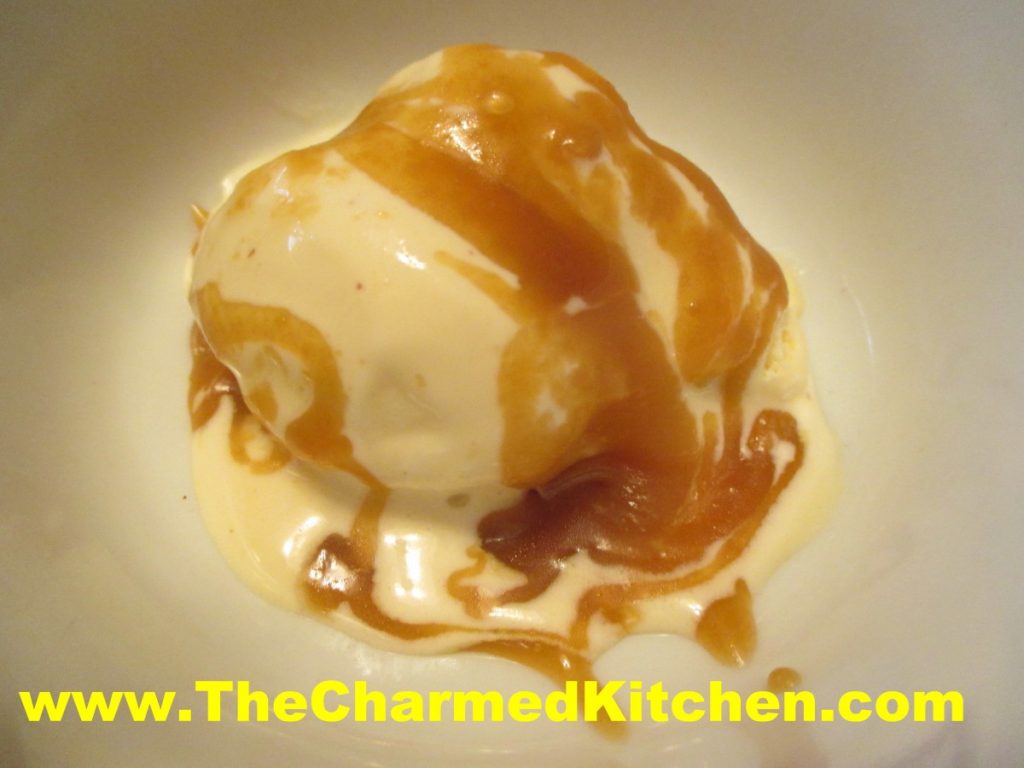
Any time is a good time for an ice cream sundae, in my opinion. Still, when the weather warms up- it is even nicer. I have been known to have an ice cream sundae for dinner on really hot days.
I was talking to some friends about ice cream sundaes and our favorite toppings. I had mentioned how much I loved a hot fudge sundae. My friend said that she loved butterscotch sauce. I had to agree. I love a butterscotch sauce, too. I had made butterscotch sauce before, but not in a very long time. I found my old recipe and made it. I thought it could be better, so I played around and tweaked it a little. The end result is bliss. Creamy, sweet, smooth and buttery with just a hint of saltiness.
This sauce is a great topper for ice cream, but is also a tasty sauce for cakes, and fresh fruit.
It is really easy to make, which is a nice bonus. Start to finish, this sauce can be done in about 10 minutes. No special equipment needed, either. I used a heavy bottomed pan, which worked great. I didn’t want my sauce to scorch while cooking. I think I might have stirred it once, just to be safe. The sauce will thicken when it cools down. Thickens even more once stored in the fridge. It is best served warmed up a little or at room temp.
So here is my butterscotch sauce recipe.
Butterscotch Sauce
6 T. butter
½ c. half and half
½ c. brown sugar
1 t. molasses*
½ -1 teaspoon salt
1 t. vanilla
Melt butter in a heavy bottomed pan. Add remaining ingredients, except vanilla, to the pan. Stir to mix well, then bring to a boil over medium heat. Boil 5 minutes. After 5 minutes, remove from the heat and stir in the vanilla. Sauce will thicken as it cools. Store in fridge and warm a little before using. Makes about a cup of sauce. Keeps for weeks in the fridge, but you’ll eat it long before that.
*The addition of a little molasses was because my original recipe called for dark brown sugar. I only had light brown sugar. I liked the flavor that extra molasses added to the finished sauce. Feel free to omit the extra molasses, or add a pinch more, depending on how dark you want your finished sauce.
Hot Fudge Sauce

On a hot summer day, I am not sure anything is better than ice cream. When it comes to topping ice cream, hot fudge sauce is one of my favorites. The warm, rich sauce on the cold ice cream is such a great combination.
When I was a kid, getting a hot fudge sundae was the ultimate treat. This simple recipes duplicates that sauce. It is easy to make and will keep for a couple of weeks in the fridge. I doubt it will last that long, once you taste it. We made it in cooking camp last week. The kids made it themselves and did a great job.
So here is the recipe. Enjoy!!
Hot Fudge Sauce
1 c. unsweetened cocoa powder
¾ c. sugar
½ c. brown sugar
1/8 t. salt
1-c. heavy or whipping cream
½ c. butter, cut into pieces
1 t. vanilla extract
In saucepan , stir together dry ingredients then stir in cream and butter. Heat to boiling and boil 1 minute. Remove from heat, cool 5 minutes and stir in vanilla. Store leftovers in fridge. Rewarm before using. Makes 2 ½ cups.
Chocolate “Magic” Shell
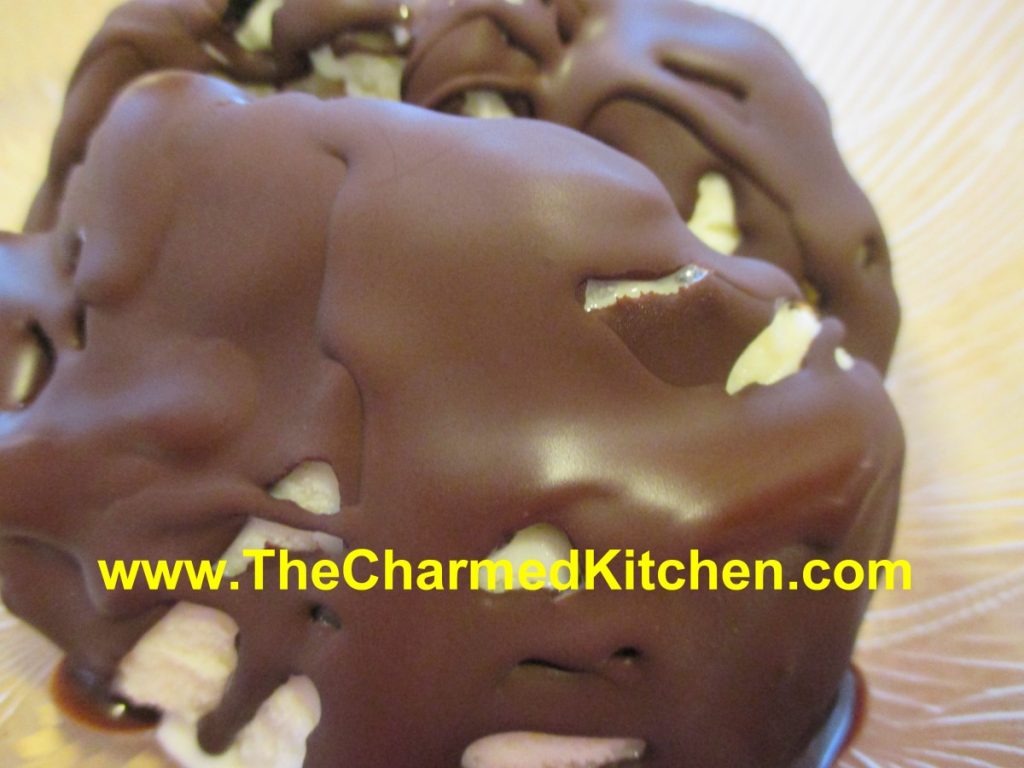
I used to love getting a chocolate-dipped ice cream cone when I was a kid. I still do.
The ice cream shop near my house had them. I watched as the soft serve was swirled onto the cone, then turned upside down and dipped into a vat of melted chocolate goodness. Like magic, the chocolate hardened, and made this lovely, crisp shell. Then they came out with the squeeze bottles of the stuff. Just a drizzle onto your ice cream and the chocolate hardened like, well, magic. The kids made it in cooking camp last week and it was a big hit. They would spoon it on their ice cream and then watch it harden up.
There are a lot of recipes out there for “magic” shell. I tried a few. All tasted fine, but some just worked better than others. I played around and found the mix that worked best for me. You store it at room temp, then drizzle on ice cream. In a few seconds, it hardens up.
It is very easy to make- just three ingredients. So easy- so good.
Homemade Chocolate Magic Shell
1 c. chocolate chips- I used dark chocolate chips
3/4 c. coconut oil- I used the unrefined
1/2 c. powdered sugar
Heat all together until melted. I melted mine in a microwave for 1 minute, but you could also melt over a double boiler. Stir until smooth. Store at room temp. To use, drizzle over ice cream, wait about 10-20 seconds- and it will harden.
Pink Velvet Cupcakes
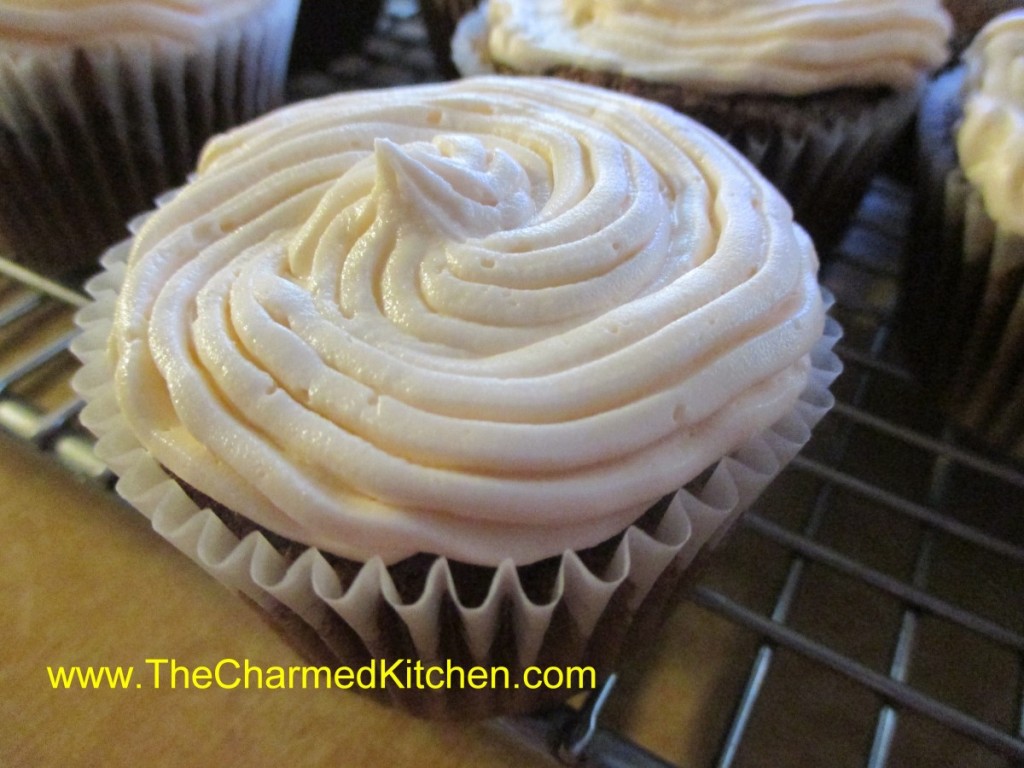
Thought I would share this fun recipe for cupcakes, using beets. I already make a chocolate beet cake- which has red tones from the beets. I wanted a lighter texture for cupcakes, with more chocolate flavor, so I made some changes to the beet cake recipe and ended up with these cupcakes.
Rich, but light, with a very subtle blush of red. I decided to call them Pink Velvet. I topped them with cream cheese frosting, but a dusting of powdered sugar would work well, too, or a favorite buttercream.
Here is the recipe. I hope you will give them a try.
Pink Velvet Cupcakes (Chocolate Beet)
2 cups all-purpose flour
2 t. baking soda
½ t. salt
¾ c. cocoa powder
1 c. butter, softened
1½ c. sugar
3 large eggs
2 teaspoons vanilla
1½ cups grated, cooked beets
Powdered sugar, optional
Preheat oven to 350°. Line 24-28 muffin tins with paper liners; set aside. Combine dry ingredients in a bowl; set aside. In a mixing bowl, combine the butter and sugar. Beat until light and fluffy. Beat in eggs one at a time, beating well after each addition. Beat in vanilla. Slowly beat in dry ingredients until well mixed; stir in beets. Spoon batter into prepared tins, filling about 2/3 full. Bake 18-20 minutes, or until cupcakes spring back when touched lightly or when toothpick, inserted into cupcakes , comes out clean. Cool before frosting. You can dust with powdered sugar in place of frosting, if you prefer. Makes 24-28.
Cream Cheese Frosting
8 oz. cream cheese, softened
1 stick, (½ cup butter) softened
2-3 c. confectioners’ sugar
1T. vanilla
Beat all ingredients together until smooth and fluffy. Store in the fridge.
S’Mores Ice Cream Sandwiches
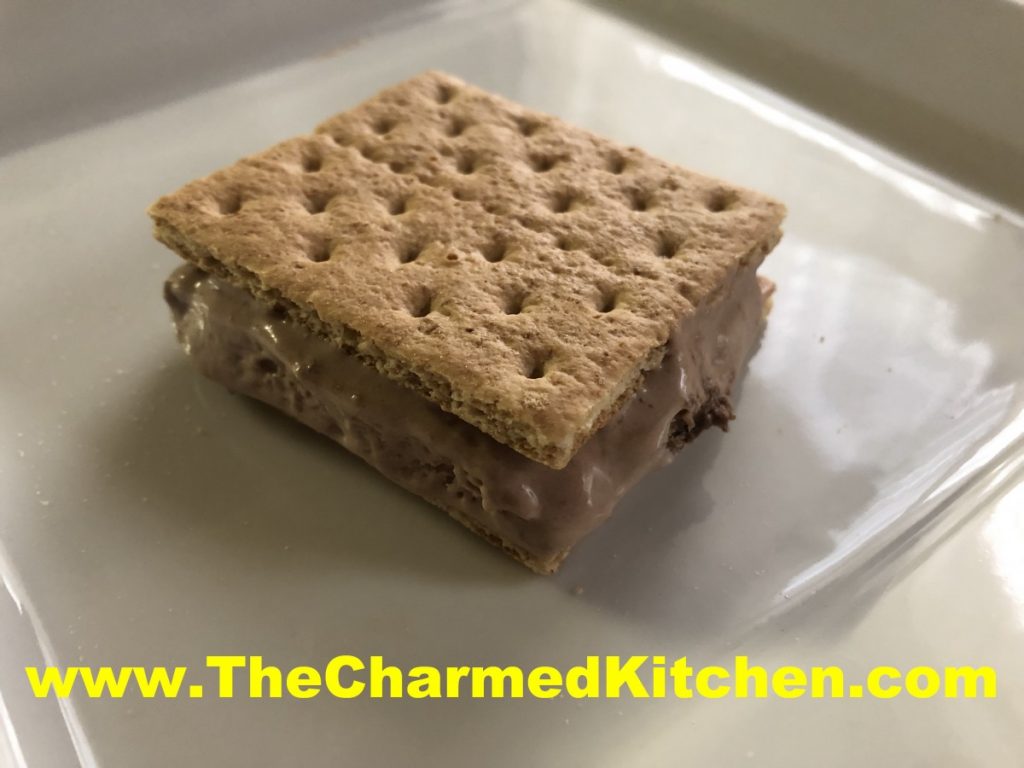
Summer is the time for picnics, campfires and S’mores. Summer is also the time of year to eat lots of ice cream and other frozen treats.
This dessert combines the ingredients of S’mores in a frozen treat. How fun is that?
They aren’t hard to make, but you need to allow time for ingredients to freeze. The mixture is frozen, then cut into squares and sandwiched between Graham crackers. They get returned to the freezer to harden up. It is a nice treat to have on hand.
We make these in cooking camp every year. The kids love them!!
So here is the recipe.
S’mores Ice Cream Sandwiches
1 (14 oz.) can sweetened condensed milk
2/3 c. chocolate syrup
1 c. coarsely crushed graham crackers
1 c. mini marshmallows
2 c. whipping cream, whipped
72 graham cracker square halves
In large mixing bowl combine sweetened condensed milk and syrup. Fold in crackers, marshmallows and whipping cream. Pour in foil lined 9×5-inch loaf pan and freeze until firm, about 6 hours, or longer. Remove from pan and peel off foil. Slice loaf in half lengthwise and then each half into 18 (½ inch) slices. Place one slice between two crackers and repeat with rest. Wrap and freeze until ready to eat. Makes 36. Note: You can slice the filling thicker. You’ll have fewer “sandwiches”, but they will have more filling. I usually get about 2 dozen.